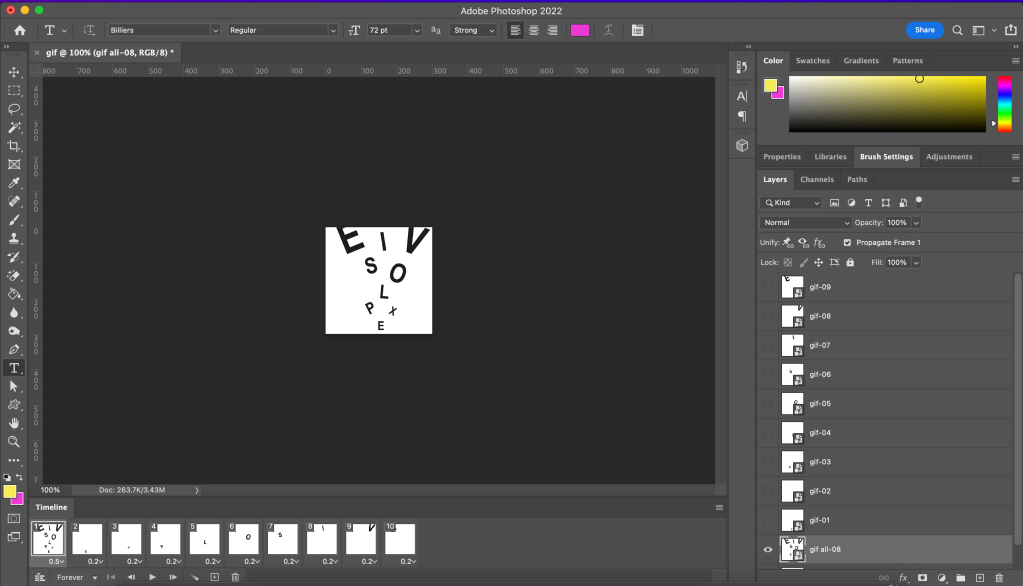
I used the photoshop program to make the typography Gif.

I used illustrator to make sketches and movements of each letter.
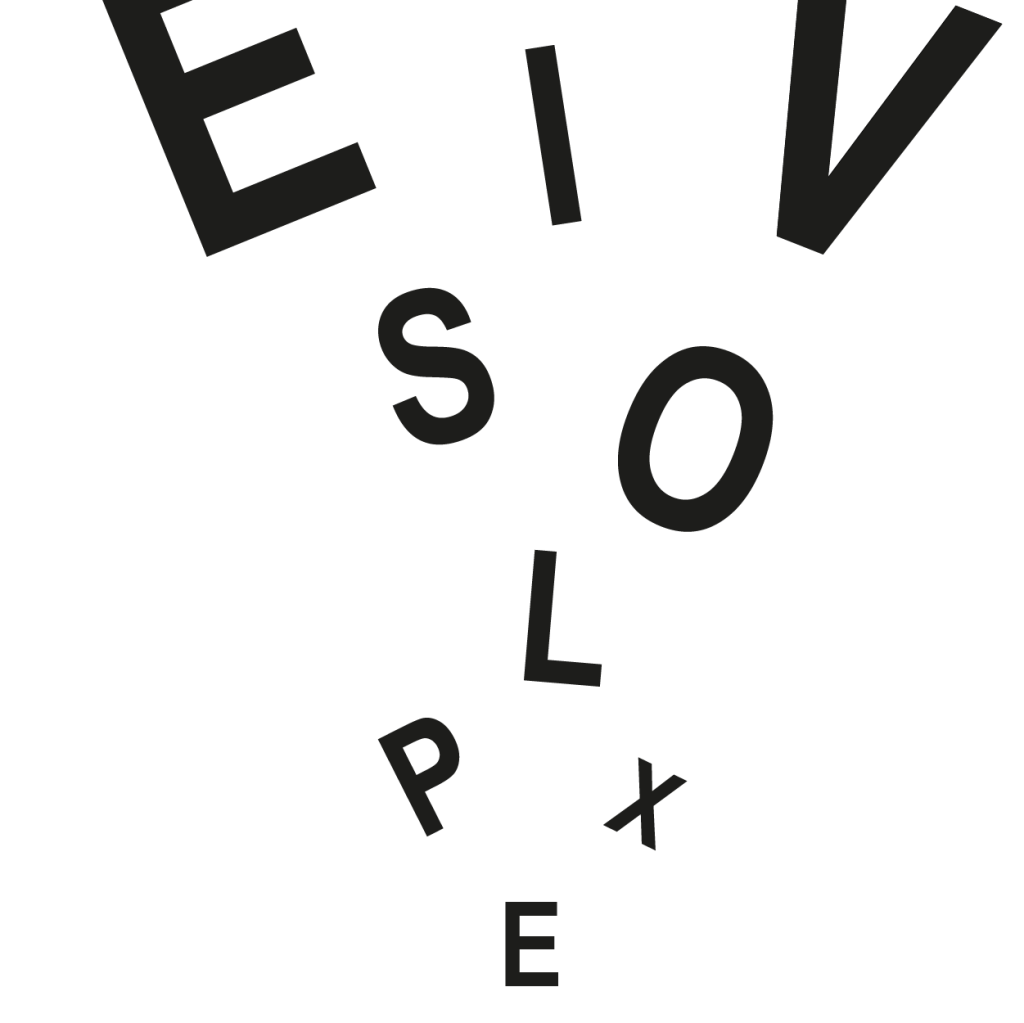
This is the final peace putting all the letters together.

This is my final Gif.
ePortfolio
I used the photoshop program to make the typography Gif.
I used illustrator to make sketches and movements of each letter.
This is the final peace putting all the letters together.
This is my final Gif.


I draw a rectangle to cut the inner rectangle in half using a pathfinder. I opened the transparency and changed to screen mode which gives a nice shiny effect to the icon.


I converted the strokes to complete shapes which you can see in the image on the right.


